How to Seal Asphalt Driveways: A Step-by-Step Guide from City Service Asphalt
Knowing how to seal asphalt driveway surfaces correctly is one of the most effective ways to protect an asphalt driveway from premature wear.
A well-timed sealing routine helps reduce water penetration, limits damage from UV rays, and extends the life of your driveway without the need for major repairs.
Many homeowners underestimate how much preparation, timing, and technique go into sealing a driveway properly.
This step by step guide explains the correct process, the materials involved, and the mistakes to avoid when sealing your driveway, so the finished surface lasts longer and delivers a clean, uniform appearance.
Key Takeaways
Driveway sealing protects the entire driveway from uv damage, moisture, and surface deterioration
Proper preparation is critical before any sealer application
Applying thin coats delivers better results than one thick coat
Allow adequate drying time between the first coat and second coat
A professionally sealed driveway improves durability and curb appeal
Table of Contents
Step-by-Step Guide to Sealing a Driveway
Preparing the Driveway Surface
Before sealing, the driveway surface must be thoroughly cleaned. Any dirt, debris, or loose materials will prevent the sealer from bonding to the surface.
Start by removing loose debris using a leaf blower or stiff bristle push broom. A pressure washer or power washer should then be used to clean the entire surface, paying close attention to edges and low spots where dirt builds up.
If oil stains are present, they must be treated to remove oil fully. A dedicated driveway cleaner, combined with a wire brush, helps break down residues that would otherwise interfere with proper sealing.
Rinse thoroughly using a garden hose or pressure washer and allow the driveway dry completely before moving on.
Filling Cracks and Repairs

Sealing does not repair damage. All cracks, including hairline cracks and small cracks, must be addressed first.
Use a quality asphalt crack filler to fill cracks and prevent water penetration beneath the asphalt.
If the driveway shows new cracks or signs of extensive damage, sealing alone may not be appropriate.
Allow all repairs to dry completely and become fully dry before continuing.
Skipping this step shortens the life of your driveway and leads to premature failure of the seal coat.
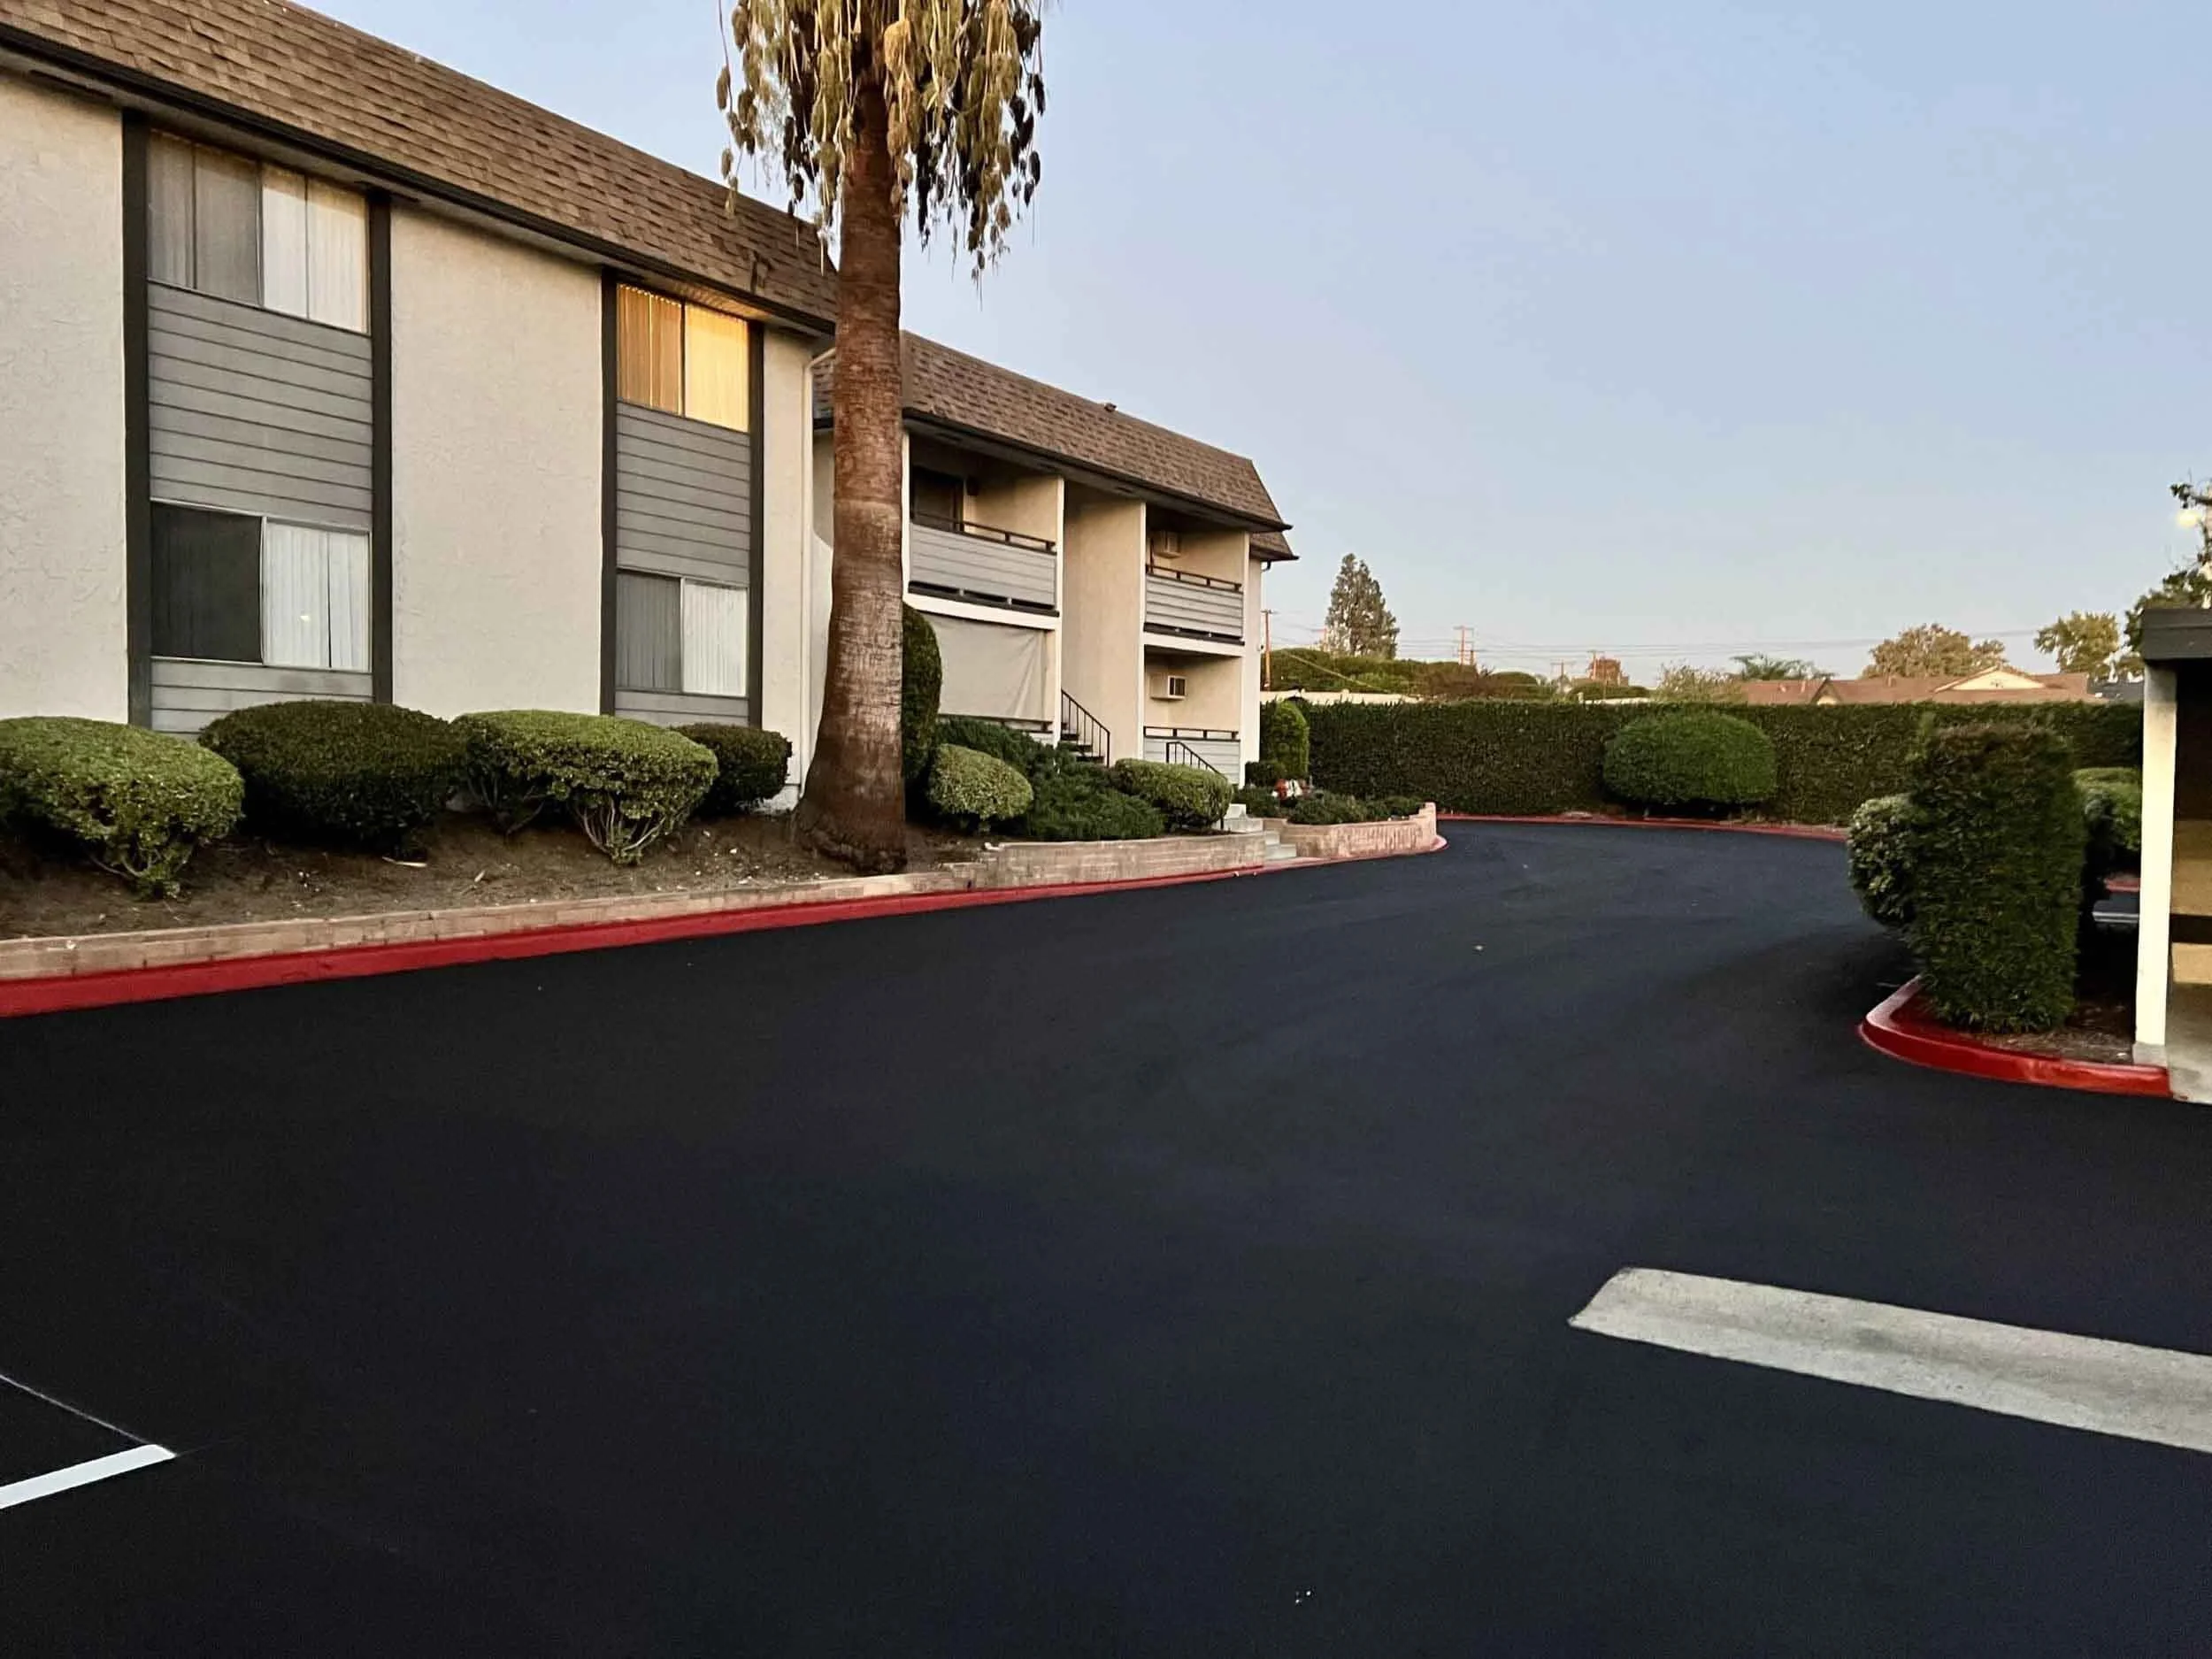
Applying the Seal Coat

Once preparation is complete, it’s time for applying sealant. Use asphalt based sealers or approved coal tar sealers, mixed thoroughly with a mixing paddle to ensure consistency.
Apply the first coat using a squeegee or brush, working evenly across the driveway surface. A spray system may be used for larger areas, but manual control is often better near edges, garage door thresholds, and adjacent surfaces such as concrete.
Avoid using a thick coat. Instead, apply thin coats to achieve better adhesion and a stronger protective layer. Allow the first coat to set for several few hours, depending on weather conditions.
Once the surface is no longer tacky, apply the second coat in the opposite direction for a more uniform appearance. In some cases, two coats are sufficient; applying one thick coat often leads to uneven curing and poor durability.
Why Proper Sealing Matters
Consistent sealing protects asphalt from uv rays, rain, and freeze thaw cycles.
Without a sealed driveway, moisture seeps into cracks, weakens the base, and shortens the life of your driveway.
However, it’s important to avoid sealing too frequently. Avoid sealing a driveway annually, as excessive buildup can cause peeling and surface failure.
Always check the weather forecast and choose dry weather with stable weather conditions to ensure proper curing and optimal drying time.
City Service Asphalt
City Service Asphalt brings professional experience to every sealing job. Their team understands how asphalt, materials, and weather conditions interact, ensuring each driveway receives the right level of sealing for long-term performance.
By focusing on proper preparation, controlled sealer application, and correct drying time, City Service Asphalt delivers a sealed driveway that resists water penetration, reduces uv damage, and maintains strong curb appeal.
Final Thoughts
Learning how to seal asphalt driveway surfaces correctly helps homeowners make informed decisions about maintenance.
While sealing your driveway can be a DIY project, professional sealing a driveway often delivers longer-lasting results, especially where traffic, rain, and sun exposure are factors.
If you’re unsure whether your driveway is ready for sealing, or if cracks and wear are already present, a professional assessment can prevent costly mistakes.
Get a Free Quote to find out the best approach for your driveway.
FAQs
How long should a driveway stay off-limits after sealing?
Most sealer products require sufficient drying time before traffic. Light foot traffic is often allowed after several few hours, but vehicles should wait longer until the surface is fully dry.
Can sealing fix structural cracks?
No. Sealing protects the surface, but deeper cracks and base issues must be repaired before sealing begins.
What happens if it rains after sealing?
Rain during curing can damage the seal coat. Always check the weather forecast and plan around stable weather conditions.
What happens if it rains after sealing?
Yes. Plastic sheeting helps protect adjacent surfaces, landscaping, and concrete from accidental sealer contact.
What happens if it rains after sealing?
Some environmental concerns exist around certain materials. Professional contractors select products that balance performance and environmental responsibility.
CITY SERVICE ASPHALT
Reliable paving, sealcoating, and repair experts serving Corona, Riverside, and Orange County. Providing long-lasting asphalt solutions built to withstand California’s weather.
GET IN TOUCH
769 Beverely Road, Corona CA 92879